Installing Service Manager Web portal without SharePoint 2010 and getting error messages.
Unable to see request offerings from the service manager console to Self service portal.
Hi Guys,
This time we are discussing about installing Service manager SharePoint Web Parts. We have already installed the Web content Server prior to installing the SharePoint Web Parts and we will see how we get the error message where we are unable to see any request offering not getting published in Self-service portal and also how we install the Self-service portal without SharePoint.
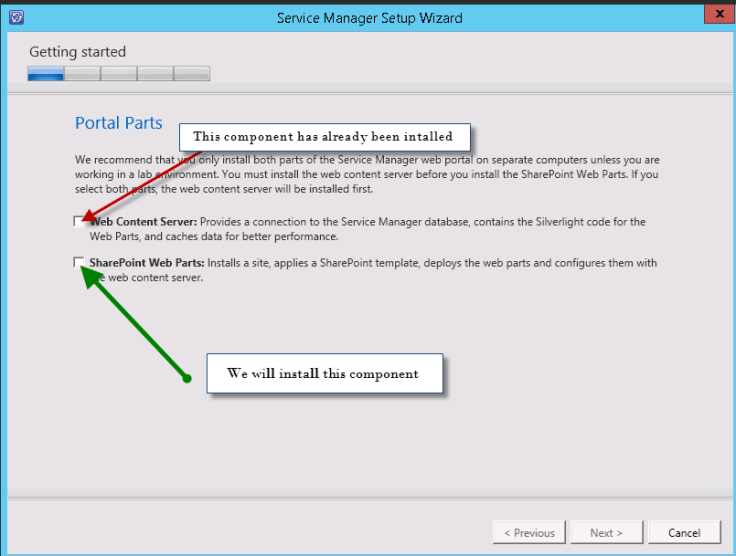
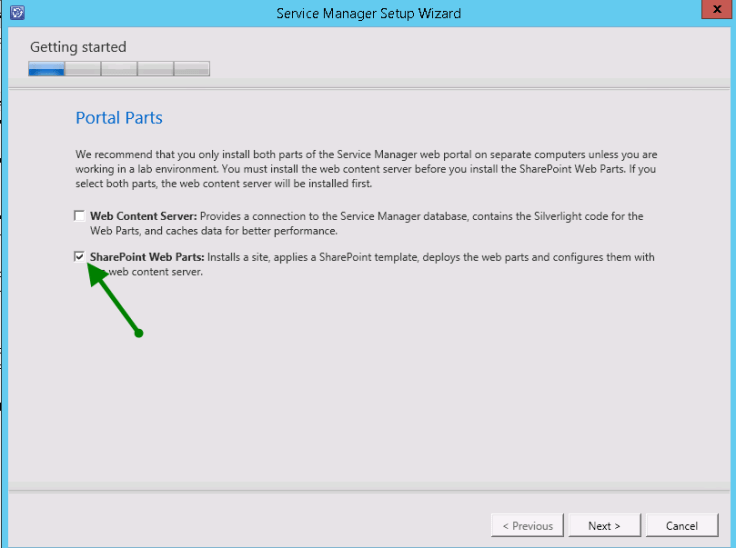
Step 1: Put a check mark on the SharePoint Web Parts and click next as given in the screenshot below:
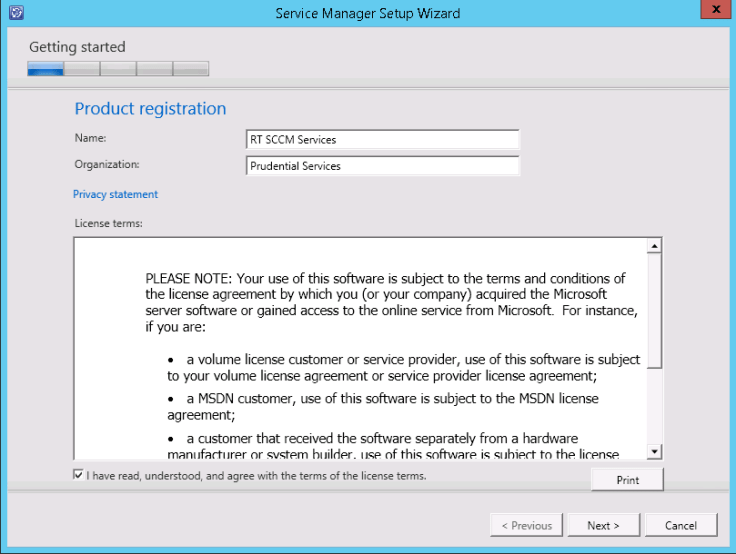
Step 2: You can enter the name and organisation as per your preference:
Step 3: Once you click next you will get the following error messages that will require SharePoint 2010 as a pre-requisite:
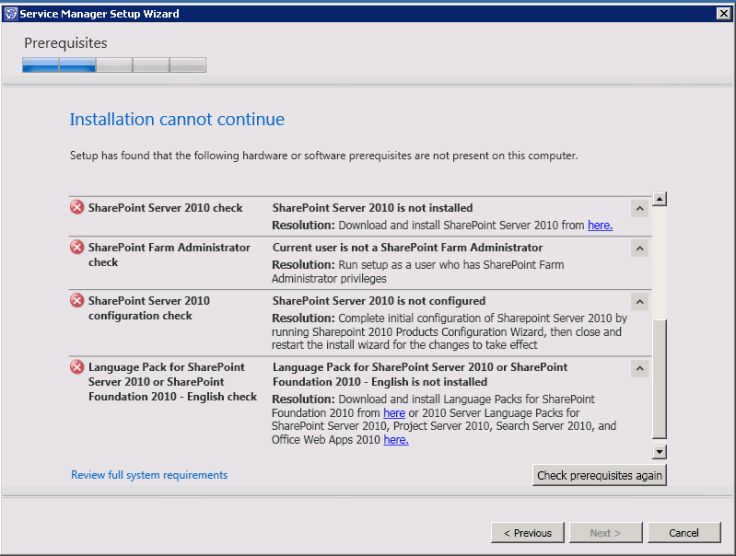
Now here we can either go for Sharepoint 201o install or another choice is to use self service portal which has no dependency for SharePoint:
We need to upgrade to update the version to System Center 2012 R2 – Service Manager Update Rollup 7 or higher version to use self service portal . We will install the CU9.
You can download the update rollup packages from the below link:
https://www.microsoft.com/en-in/download/details.aspx?id=50744
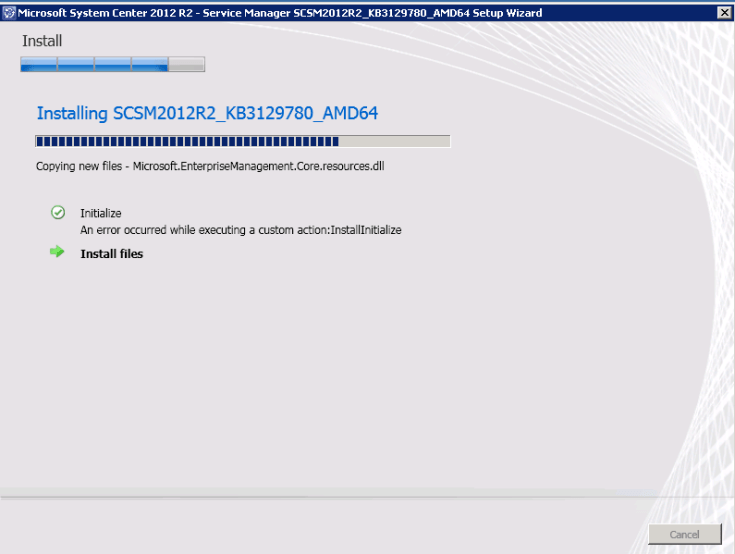
Step 4: We run through the CU 9 installer.
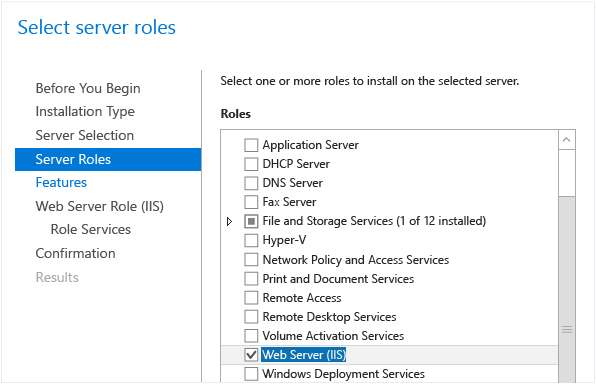
Step 5: Configure Service Manager Server for the New Self Service Portal
- Start the Add Roles and Features Wizard and then enable IIS.
-
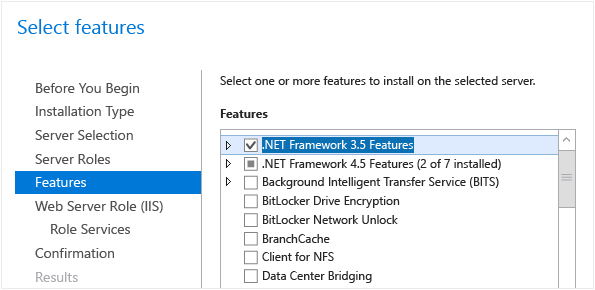
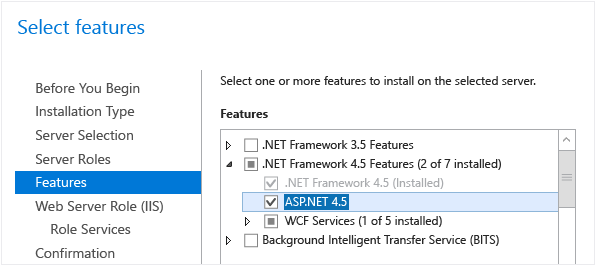
Enable the .NET features.
-
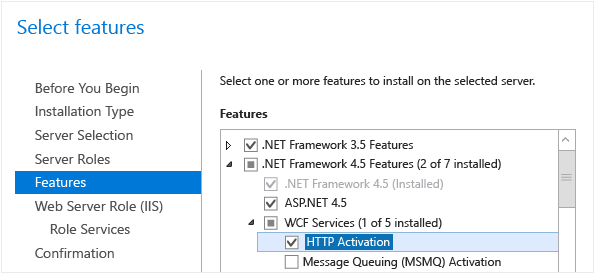
Enable HTTP Activation.
-
Enable ASP.NET 4.5
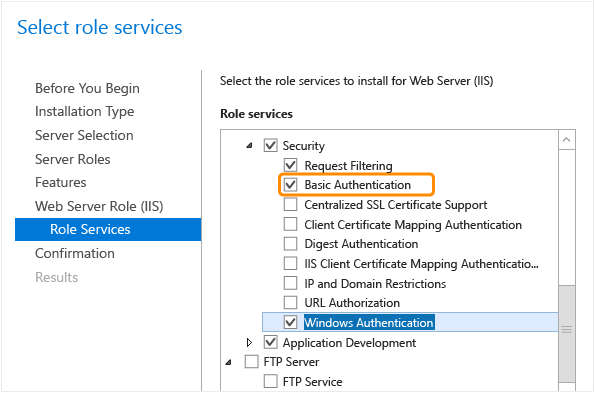
Step 6: Enable the following role services on the Web Server Role (IIS) page.
-
Basic Authentication and Windows Authentication.
-
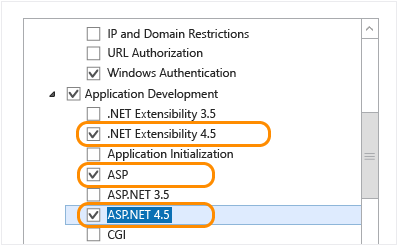
Add Application Development and under it, add .NET Extensibility 4.5, ASP, and ASP.NET 4.5.
Step 7: Install the Self Service Portal WebApp using Setup
Use the following steps to install the Self Service Portal WebApp using Setup.
-
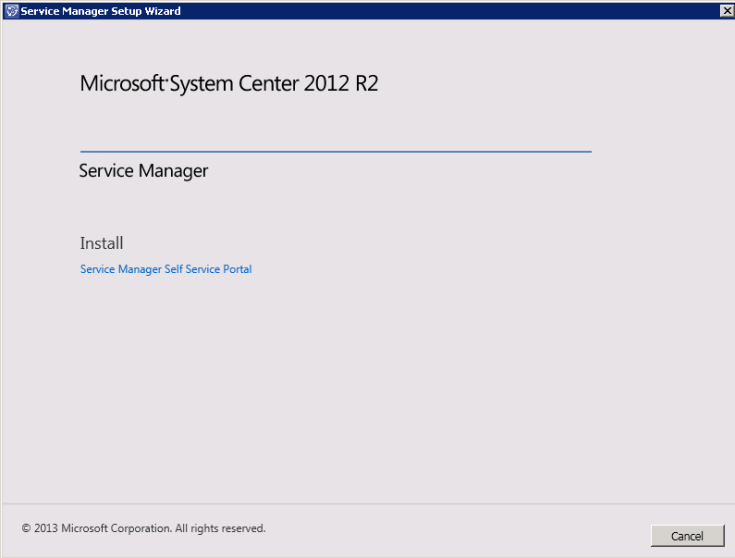
Run setup Wizard.exe in the Setup folder to start the Service Manager Setup Wizard. Under Install, click Service Manager Self Service Portal.
-
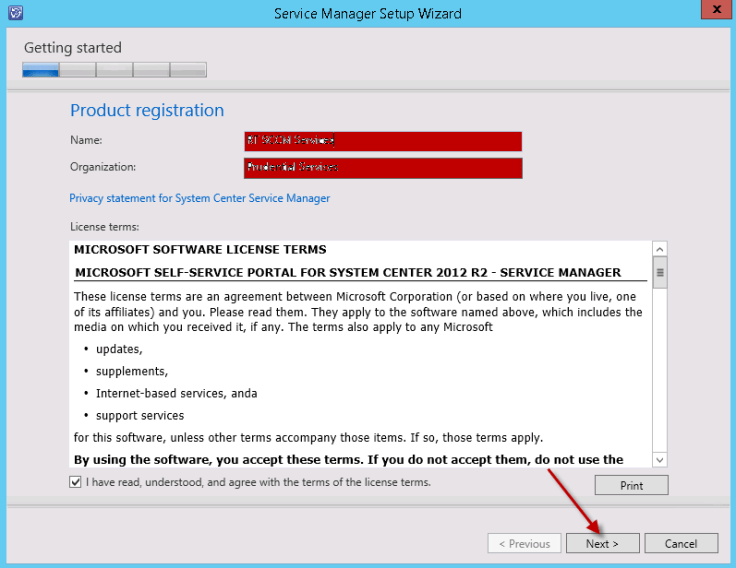
Enter the following information and accept the Eula and click Next.
-
Please enter the following information
-
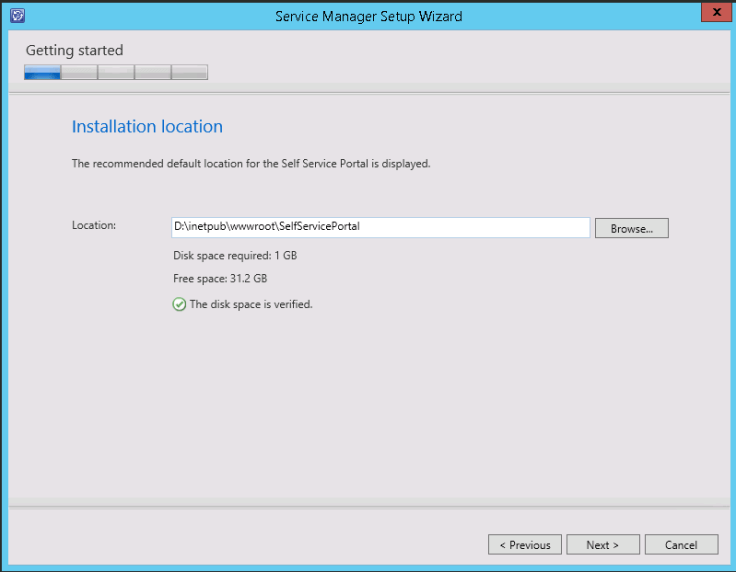
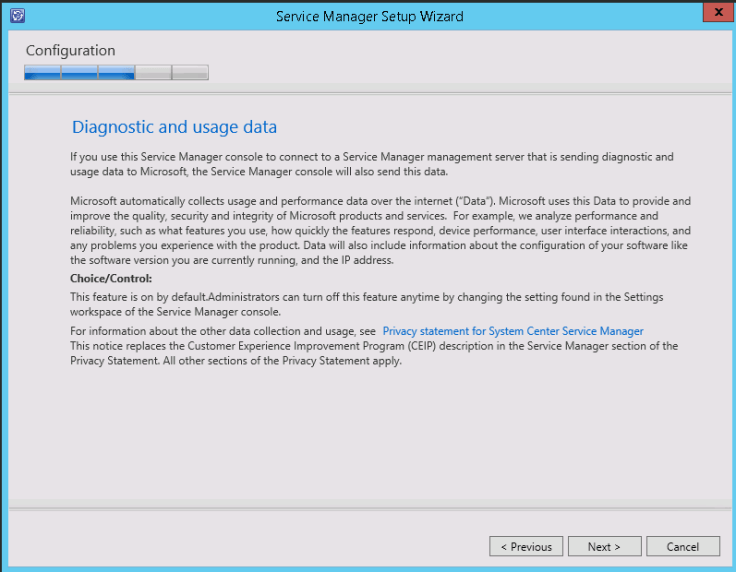
Click Next as you can see of the conditions are met.

-
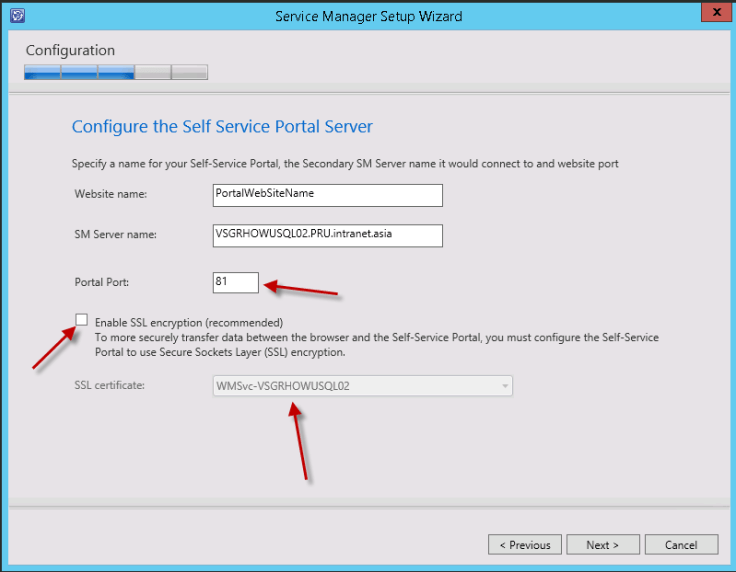
Initially there is 443 option that you can select if you have the certificate otherwise you can chose a custom port.
-
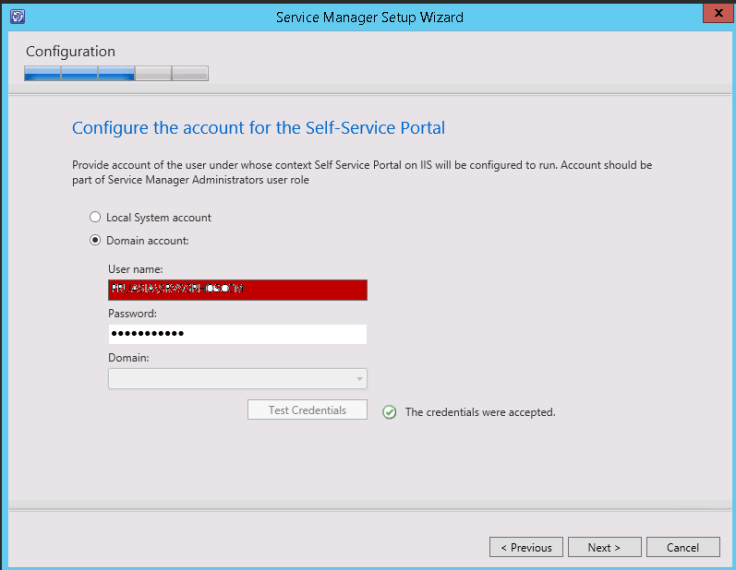
Now you can enter the credentials and click next.
-
Click next again.
-
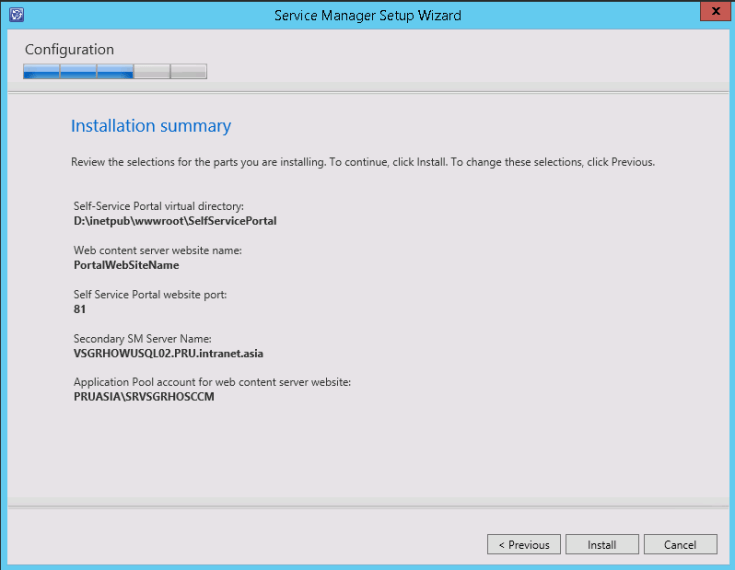
Check the install summary and click install.
-
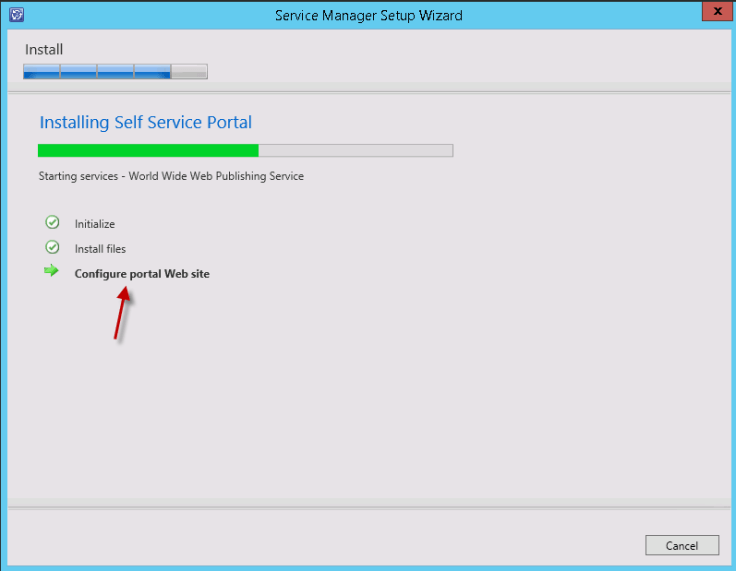
You will see the following screen when you click on install.
-
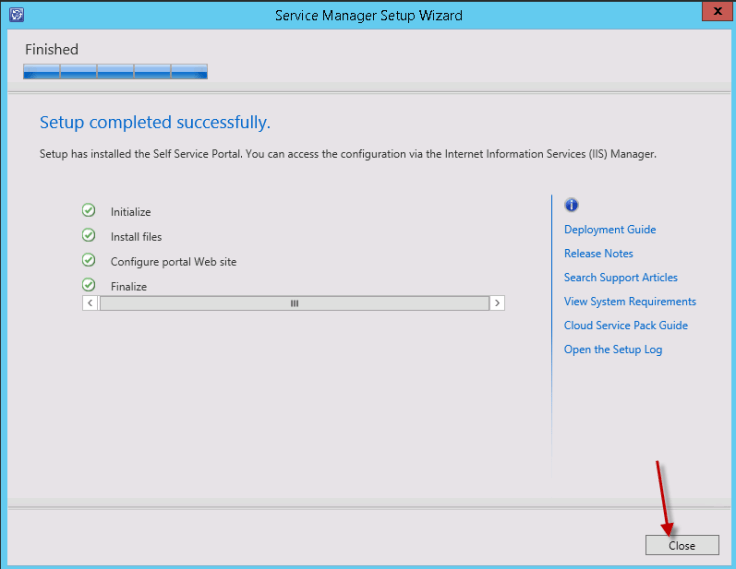
On completion you get the following screen which says the installation went fine.
-
But when you try to access the website you get the following portal where everything is empty you do not see the connectivity between the service manager server and Self-service portal.
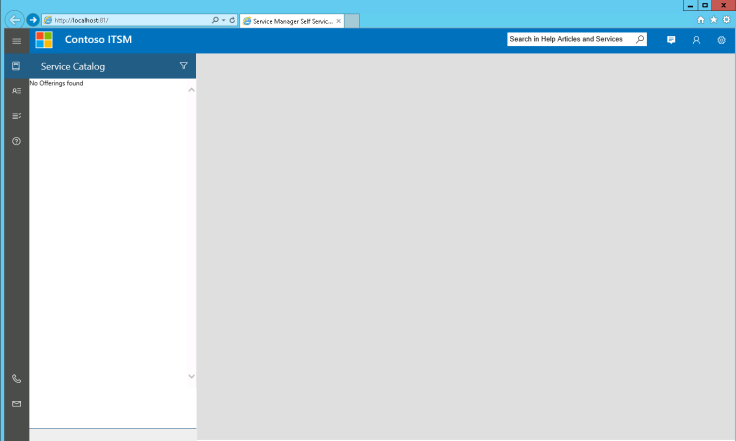
-
In that scenario you need to access the config file located in the self-service portal server which is point to the server where Self Service portal is installed but instead it should point to the server where you have installed the service manager. You need to check the file and replace the correct server as highlighted.
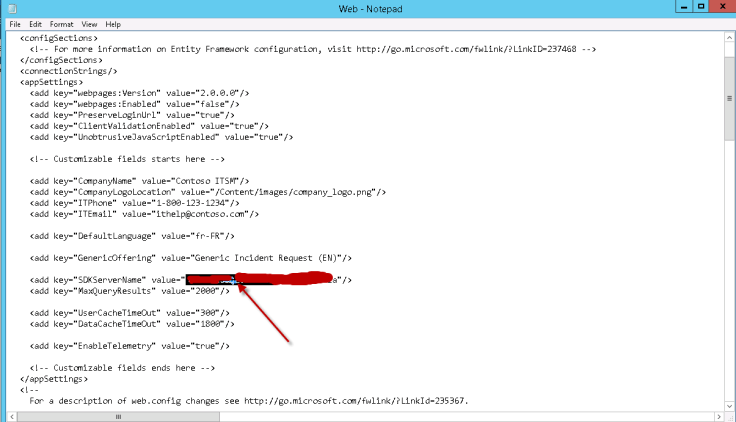
-
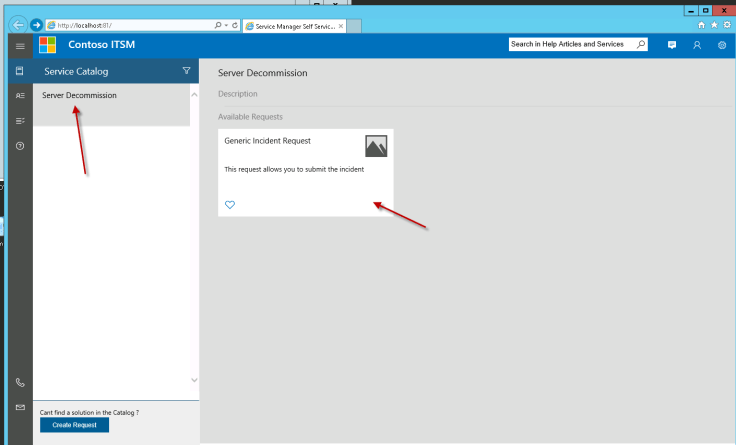
Once you make the change you will see the request offerings visible in the Service Manager Self-service portal.
-
I hope you had a great time reading this blog J

Leave a comment