
Hi Guys, we will go through the following topics, these are very basic topics on creating your own dockerfile , creating a container image and starting the container with that image.
- How to write a Dockerfile
- RUN vs CMD vs ENTRYPOINT
- How to use a Dockerfile to build the container image
- Using the image how to start the container
- Using Windows Docker Desktop to start the container from Container Image
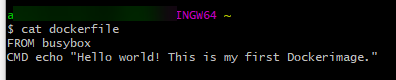
To create a dockerfile run the following commands where CAT means you are writing into the file named Dockerfile, from is used to fetch the base image busybox, cmd will the cmd when the container starts, this command will be executed and you end with EOF.
- RUN– When you provide a run command it adds a layer on top of your base image .
- CMD-When we provide CMD, you can interact with the CMD command even after the container has been created and run more command when logged into the container.
- ENTRYPOINT: When you specify ENTRYPOINT , you cannot change the command or interact with the command once the container has been created.

You can check the contents of the dockerfile by running CAT Dockerfile and you can see only 2 lines of content:
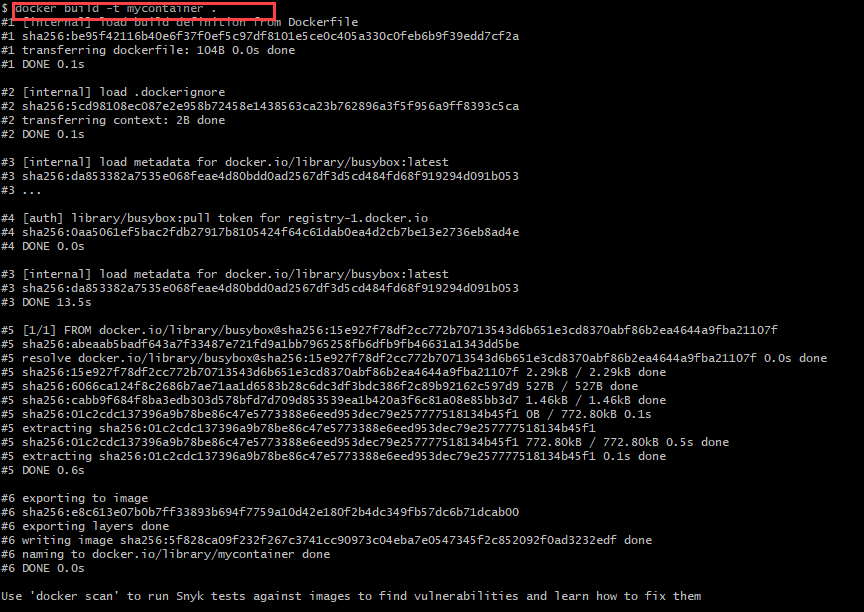
To build the image use the following command :
docker build -t mycontainer . where docker build is used to build the image ,-t is used to name the container as i have used to name my container mycontainer and finally a dot to search the dockerfile that you created earlier in the same directory.
After running this step , we will get the image.
To have a container, run docker run command . You can type the following to run the command:
docker run mycontainer

For a bit more complex build we can change our dockerfile by running the following command :
vi dockerfile to edit your previous dockerfile
For more on VI commands you can refer the following link https://www.cyberciti.biz/faq/linux-unix-vim-save-and-quit-command/

Once done we can again run docker build -t mywebserver and as you can see the image is created in the following screebshot:

We run the command docker image -ls to list our new image

Now we need to start our container from the image we created: We can run the following command
docker run -d -p 8888:80 mywebserver where -d means run the container in the background , -p means mapping the local port with port 80 on the container and then finally the name of our image

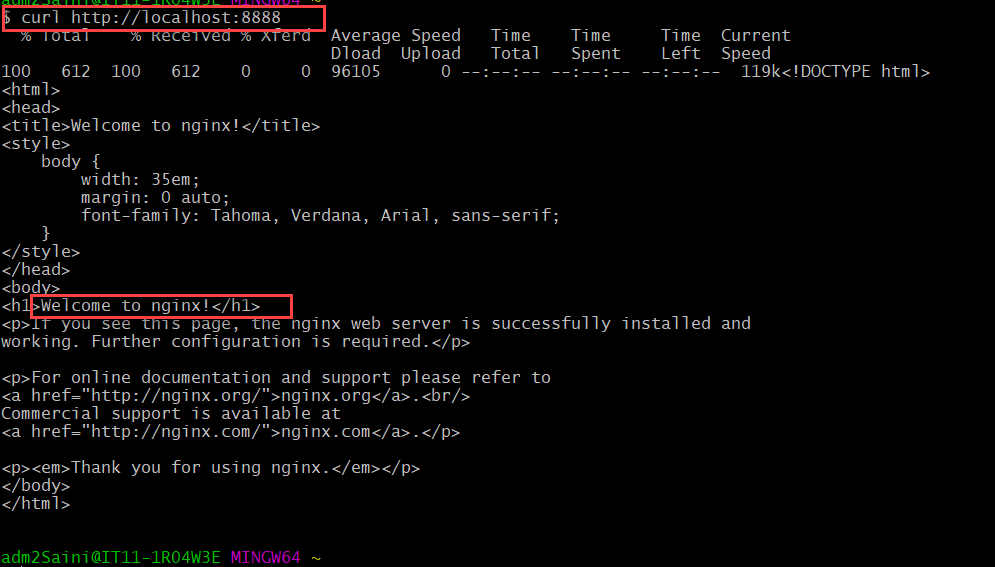
And then to check if the container is running on port 8888 on our local system:
curl http://localhost:8888 and as you can see below the web server is working
Using Window Docker Desktop to start the container using the image we created
As yo can see in the screenshot our two images that we created
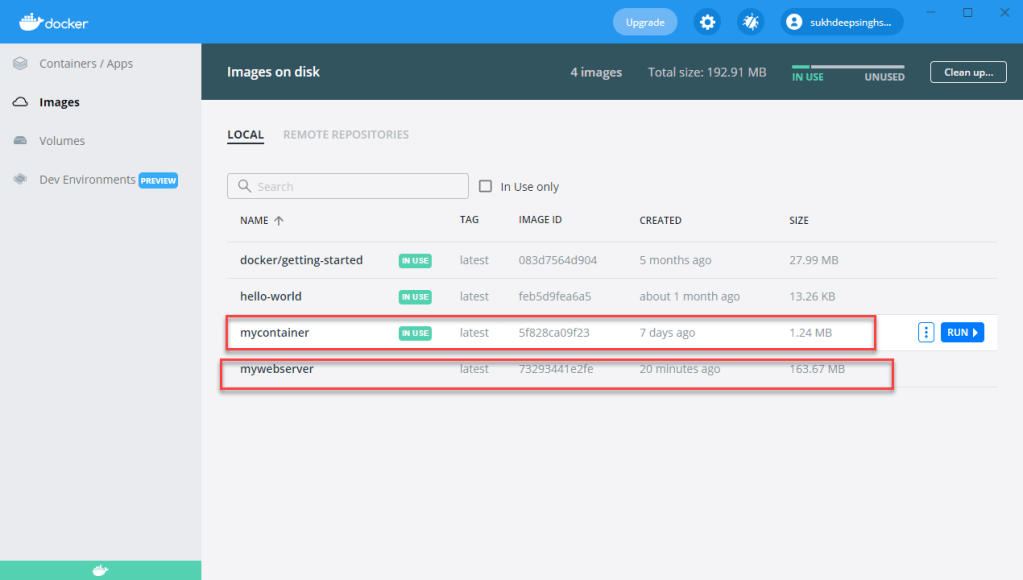
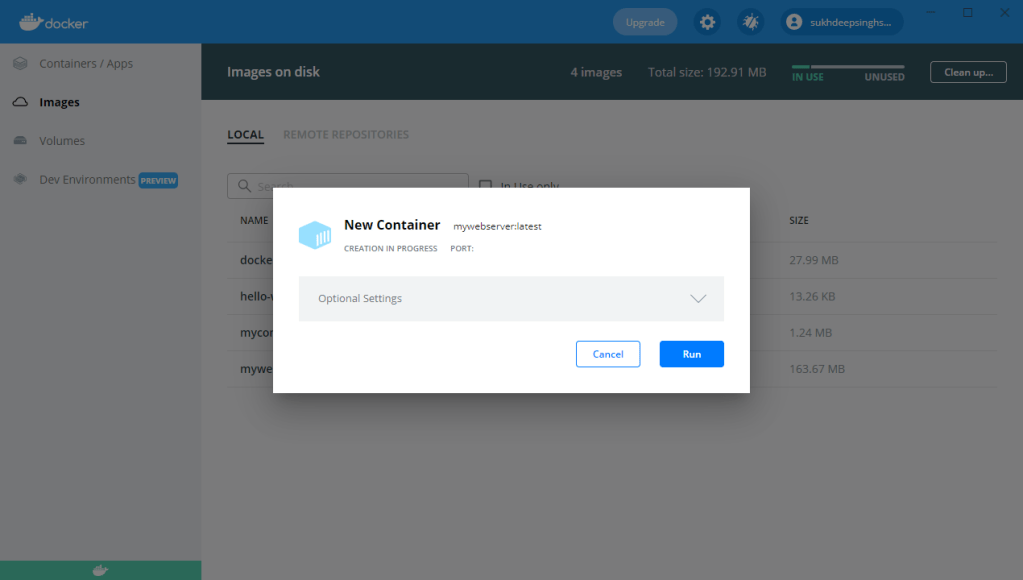
In order to start the container, we need to click the run button we on the right side of the image, once you click run ,you will be presented with the following screen to start your container , you can fill some optional settings :
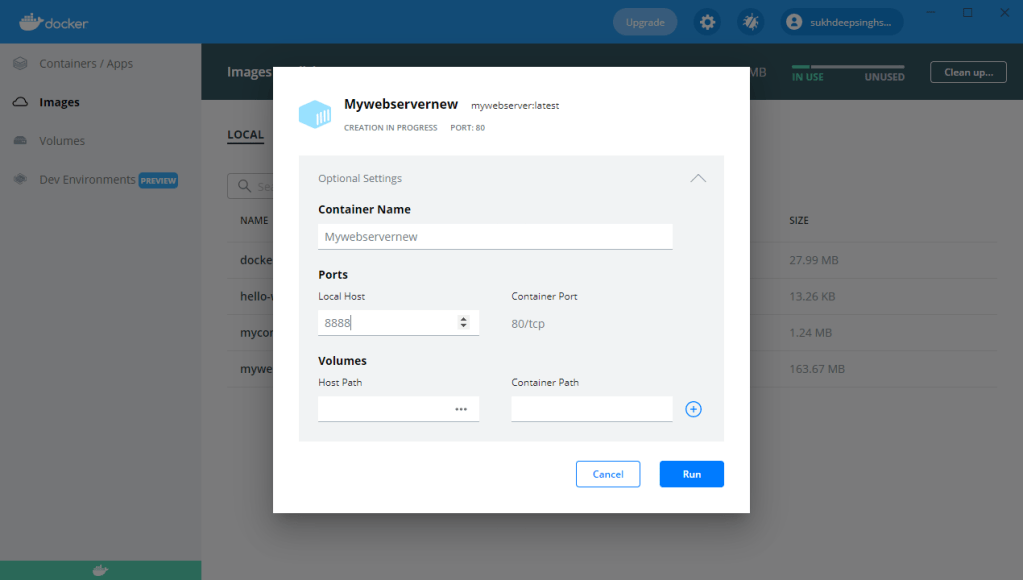
You can specify the Name of the container , the local port on the host computer and if you want to fill any custom path.
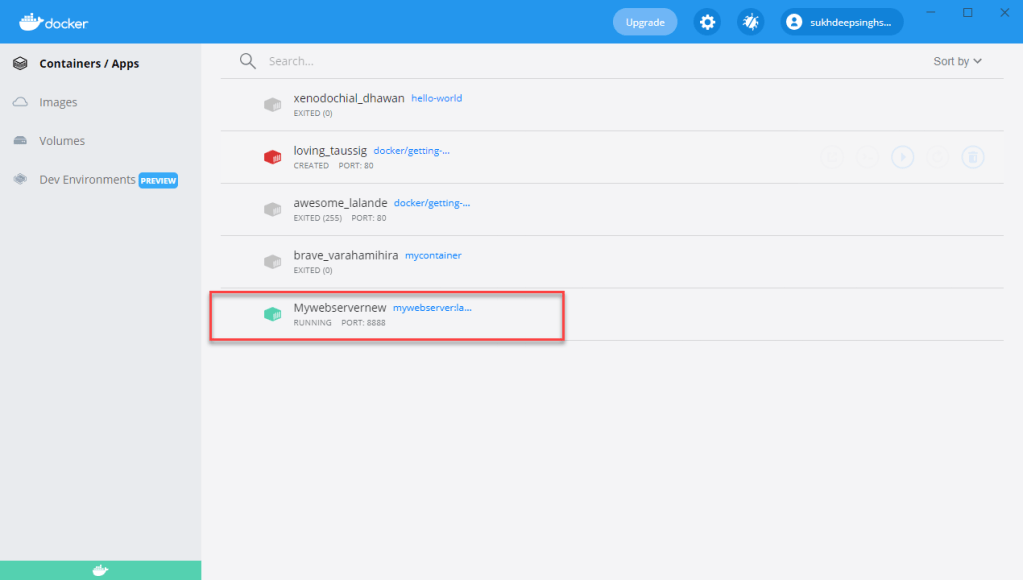
And as you can see our new container running :
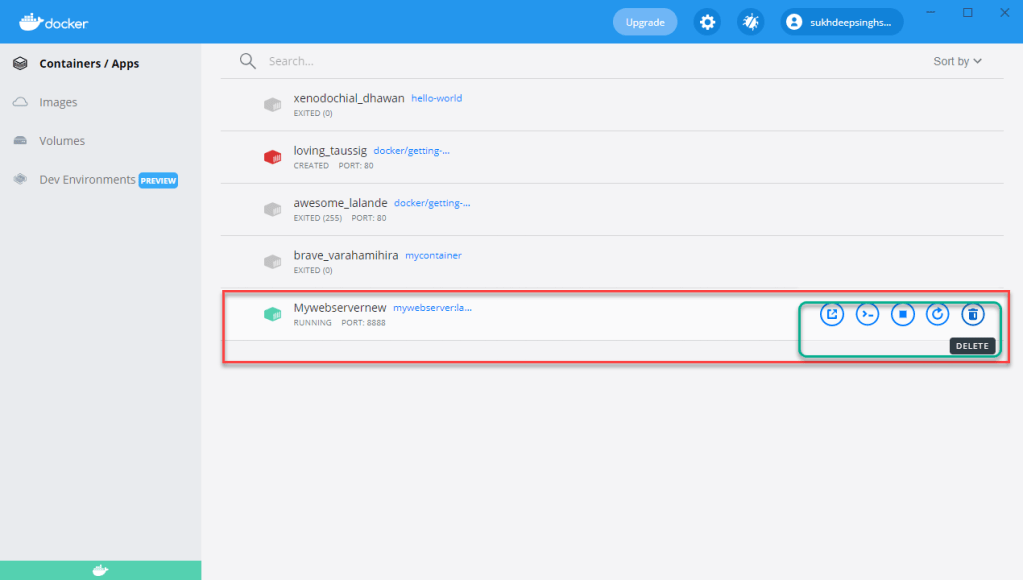
And , once done you can stop , restart or delete the container from the Docker desktop itself without going to the command line.Even after you delete the container, the image will still remain there and you can spin up a new container any time you want.

Leave a comment